How to Design Your Room with AI: Complete Guide
Step-by-step guide to designing any room with AI. Upload your photo, choose your style, and transform your space in 15 seconds with Aspire Interiors.
What You Need to Get Started
You don't need much. That's the point.
- An iPhone — Aspire Interiors is iOS-only (for now). Android users should check our comparison of the best AI room design tools for web-based alternatives.
- A photo of your room — taken in daylight, from a corner, showing as much of the space as possible. More on this below.
- Five minutes — that's genuinely how long the first design takes once you know the workflow.
- An idea of what you like — or just a mood board, a photo you saw on Instagram, or even a colour swatch. The app works with whatever inspiration you have.

Mood Board
Your Inspiration
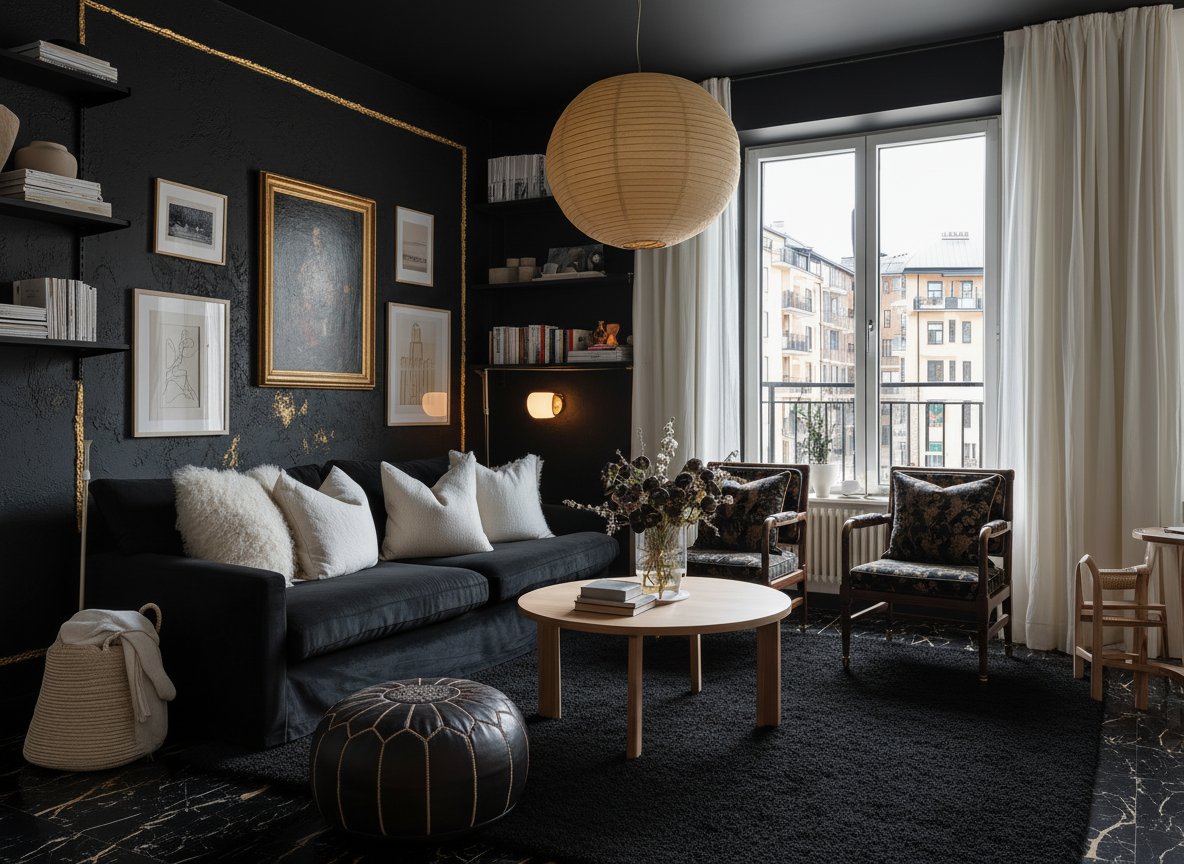
AI Generated
Your Design
The Three Ways to Create
Aspire Interiors doesn't give you one generic "AI design" button and hope for the best. There are three distinct creation modes, and choosing the right one for your project makes the difference between a generic render and a design you'd actually commission.
Bespoke Mode — For When You Have an Idea
This is the creative mode. You start with your inspiration and the AI builds around it.
There are three ways to use Bespoke:
Materials Mode — For When You Want Control
This is the precision mode. You choose from twelve distinct interior design styles, then walk through an eight-step wizard where you specify every element.
The steps are:
- Style Family — Choose from 12 curated aesthetics (warm modernism, Art Deco, Scandinavian, etc.)
- Ceiling — 5 options with colour variants
- Flooring — 5 options with colour variants (walnut, oak, marble, terracotta tile, etc.)
- Walls — 6 options with colour variants
- Seating/Bed — 6 options with colour variants
- Furniture Set — 5-6 curated accessory combinations
- Lighting — 6 options with colour variants (pendants, recessed, sconces, etc.)
- Review — See your complete design specification before generating
This is the mode Alexander Vaughn uses most often. It's how you guarantee the output respects the 5-element architectural foundation — window frames, flooring, wall colour, hardware, and ceilings — rather than randomly replacing your sofa and calling it a day.
Fixed Styles — For When You Want Speed
This is the instant mode. Browse 300+ professionally designed presets across every style. Upload your room, tap a style, and get a complete transformation in 15 seconds.
No decisions to make, no materials to choose. Pure inspiration.
Popular presets include Blush Marble, Bold Geometric, Modern Deco, Moroccan Amethyst, Forestcore, and Opulent Baroque. Each one is a complete design package — not just a filter slapped over your photo.
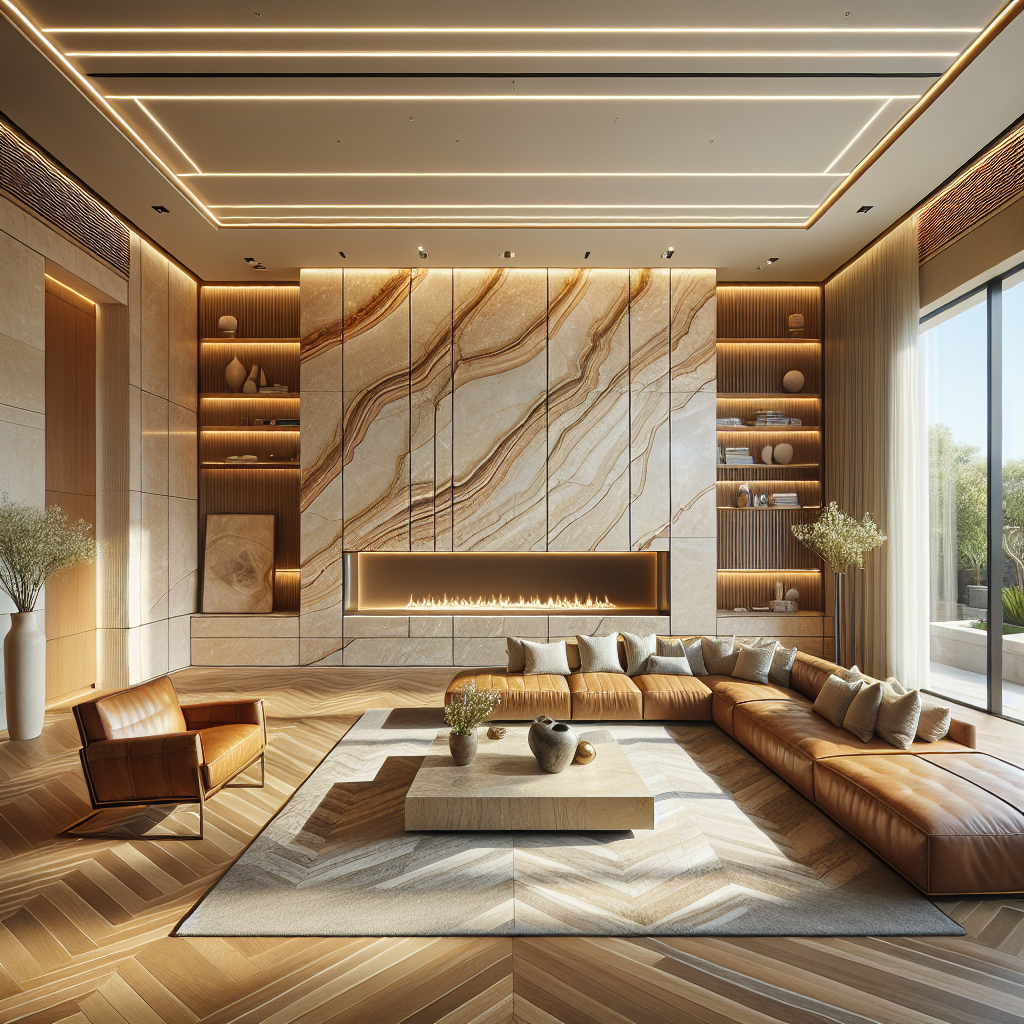
Materials Mode
A complete room transformation in 15 seconds
Step-by-Step: Designing with Bespoke Mode
Let's walk through the most flexible approach. This works for any room type.
Step 1: Take the Right Photo
Your output is only as good as your input. Follow these rules:
- Daylight only — Natural light gives the AI accurate colour information. Turn on all the lights too, but avoid flash.
- Shoot from a corner — This shows the most wall and floor area. Stand in one corner, point diagonally across the room.
- Include key features — Make sure windows, doors, fireplaces, and any built-in features are visible. The AI uses these as anchors.
- Clear the clutter — Remove anything you don't want the AI to interpret as a permanent feature. That pile of laundry will become a design element if you leave it in frame.
- One photo per upload — The AI analyses a single image. Multiple angles come later when you're refining.
Step 2: Choose Your Bespoke Path
Open the app, upload your photo, and select Bespoke Mode.
If you have words, choose Describe Your Vision. If you have an image, choose Upload a Mood Board or Recreate Any Room.
Step 3: Input Your Design Brief
Step 4: Generate and Review
Tap generate. Wait 15-20 seconds.
The result will preserve your room's architecture — windows stay where windows are, doors stay doors, ceiling height is respected — but reimagine the interior according to your brief.
Don't expect perfection on the first try. AI design is iterative. The first result shows you what's possible. The second refines it. By the third, you usually have something worth saving.
Step-by-Step: Designing with Materials Mode
Use this when you know what you want and don't want to leave it to chance.
Step 1: Upload Your Room Photo
Same rules as Bespoke Mode. Daylight, corner angle, clear clutter.
Step 2: Choose Your Style Family
The twelve curated styles range from warm modernism (our current favourite — think walnut, brass, terracotta, stone) to Art Deco, Scandinavian, Japanese Zen, and Industrial.
Each style family sets the overall "language" of the design. Everything that follows harmonises with this choice.
Step 3: Walk Through the 8-Step Wizard
This is where you build your design specification. Each step gives you 5-6 options with colour variants.
The AI previews your choices as you go, so you can see how flooring and wall colours interact before committing.
Step 4: Review and Generate
The final screen shows your complete specification — every material, every finish, every colour. If something looks off, go back and adjust. If you're happy, generate.
The result respects every choice you made. This is the mode for control freaks — in the best possible way.
Step-by-Step: Designing with Fixed Styles
The fastest path from "my room looks tired" to "I want that."
Step 1: Upload Your Room Photo
You know the drill by now.
Step 2: Browse the Library
300+ presets, organised by style. Tap through categories: warm modernism, Art Deco, minimalist, maximalist, coastal, urban, traditional, futuristic.
Each preset shows a thumbnail of what it does — a complete room transformation, not just a colour change.
Step 3: Tap and Generate
Tap the style you like. Generate. 15 seconds later, you see your room transformed.
This is the best mode for inspiration. If you don't know what you want, start here. Generate five different styles for the same room. One of them will make you stop and stare.

Inspiration
Coastal Beach
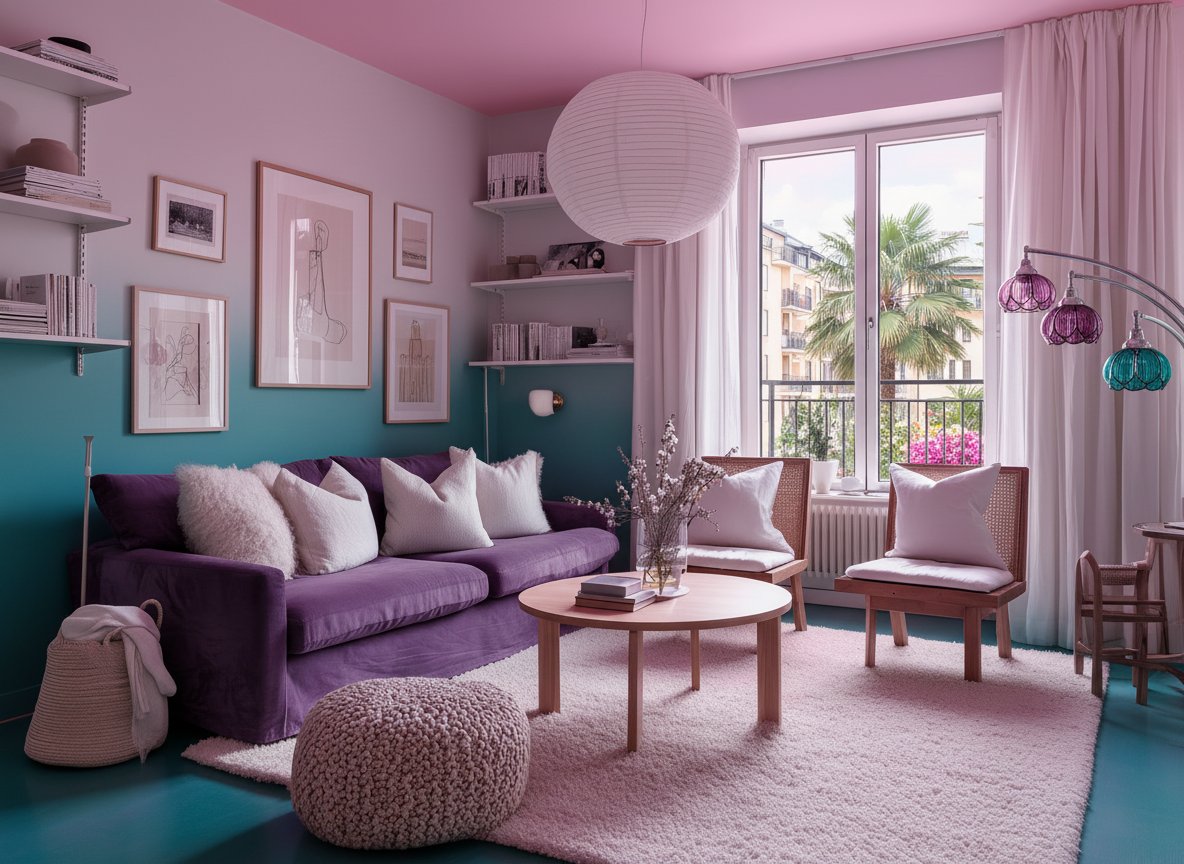
AI Result
Coastal Serenity
Tips for Better Results
After millions of generations, we've noticed what separates good results from great ones.
The data: Most users find their favourite design by the third generation. The first result explores possibility. The third result usually nails it.
Common Mistakes (And How to Avoid Them)
After watching thousands of users generate their first designs, we've noticed the same errors crop up again and again. Here's what not to do — and what to do instead.
Mistake 1: The Midnight Photo
Mistake 2: The Vague Brief
Mistake 3: Ignoring Architecture
Mistake 4: Treating the First Result as Final
Mistake 5: Designing for a Photo, Not a Room
Mistake 6: Forgetting the 5-Element Foundation
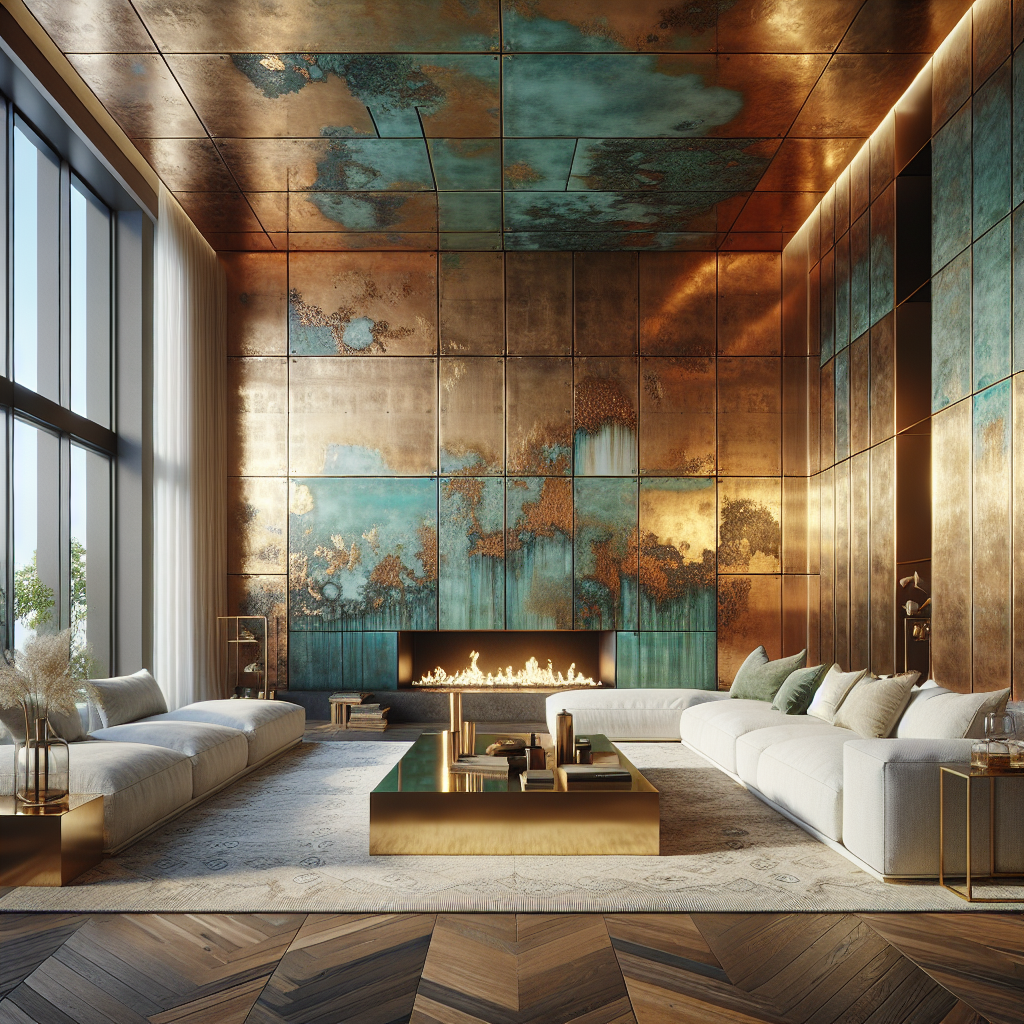
Fixed Style
300+ presets, instant results
From AI Design to Real Room
A beautiful AI image is pointless if you can't build it. Here's how to bridge the gap.
Frequently Asked Questions
Quick answers to the most common questions about designing with AI:
How long does it take? · Do I need design experience? · Which rooms work? · What if I don't like the result? · Is my photo private? · Can I show builders? · Bespoke vs Materials? · How many free designs? · Media walls? · Exact dimensions?
How long does it take to design a room with AI?
15–20 seconds per generation once you've uploaded your photo. The whole workflow — photo, upload, brief, generate, review — takes 3–5 minutes for your first design. After that, it's under a minute per variation.
Do I need to be good at interior design to use AI room design?
Not at all. The app is built for people who know what they like but don't know how to achieve it. The 12 style families, 300+ presets, and material libraries do the heavy lifting. You just choose what appeals to you.
Can I design any room type, or just living rooms?
Any room. The 17-room suite system covers living rooms, bedrooms, kitchens, bathrooms, dining rooms, home cinemas, wine cellars, indoor pools, home offices, dressing rooms, saunas, and more. The AI adapts its output to the room type you specify.
What if I don't like the first design?
Generate again. The AI produces a new interpretation each time. You can also edit your brief, switch creation modes, or adjust materials. Most users find their favourite design by the third or fourth generation.
Is my room photo safe and private?
Yes. Aspire Interiors processes your uploaded images solely for your own design generation. They are not used to train AI models, not shared with third parties, and automatically deleted 30 days after generation. See our privacy policy for full details.
Can I use the AI design to get quotes from builders?
Absolutely. Builders and interior designers quote more accurately when they can see exactly what you want. The generated image acts as a visual brief, and Materials Mode gives you an exact specification list.
What's the difference between Bespoke and Materials Mode?
Bespoke Mode starts with your inspiration — words, mood boards, or images — and the AI interprets your vision. Materials Mode starts with your choices — you specify every element through the 8-step wizard. Use Bespoke for creativity, Materials for precision.
How many designs do I get for free?
Three free designs. No credit card required, no subscription needed. This is enough to learn the workflow and create one or two room concepts. For whole-home design, the Pro subscription gives you 50 designs per month (monthly plan) or 840 per year (annual plan).
Can I design a media wall with AI?
Yes — and this is one of the most popular uses. Upload your living room, describe or select a media wall design, and the AI integrates it into your space with proper proportions, materials, and lighting. See our media wall ideas guide for inspiration.
Will the AI design match my room's exact dimensions?
The AI preserves your room's architectural proportions — ceiling height, window placement, door positions, and overall dimensions. However, always verify that furniture sizes in the generated image correspond to real-world products before purchasing.
Related Reading
Want to see how Aspire Interiors stacks up against the competition? Read our independent comparison of the best AI room design tools in 2026 — we tested RoomGPT, VisualGPT, Canva, Planner 5D, and Aspire side-by-side.
For a deep dive into a specific project, read our guide on how to design a media wall with AI using a mood board — it covers the full 4-phase workflow, from uploading your inspiration to refining the final design.
Free Download: Room Design Checklist
Before you start your first AI room design, grab our free Room Design Checklist — 12 questions that help you get better results faster. Covers photo tips, style selection, material combinations, and common pitfalls to avoid.
It’s built into the Aspire Interiors app — available free when you create your first design. No subscription needed.
Ready to Design Your Room?
You now know exactly how to turn a photo into a design worth building.
Download the Aspire Interiors app, upload your room, and start with three free designs. Try Bespoke Mode if you have an idea. Try Materials Mode if you want control. Try Fixed Styles if you just want to see what's possible.
Most people get something they love by the third generation. Some get it on the first. Either way, you'll know what's possible in your space — with your windows, your proportions, your light — in under five minutes.
Your dream room is closer than you think. No pressure, no surprises — just good design.